
This page walks you through building a working video gallery from scratch. You will create a category, add a video to it, and link to it from your site menu. It takes about five minutes.
If you have not installed All Video Share yet, start with the installation guide and come back here.
On This Page
Step 1: Create a Category
Every video has to belong to a category, so this is where you begin. Think of categories as the sections of your video library — Tutorials, Product Demos, Customer Stories, and so on.
- Go to Components → All Video Share → Categories.
- Click New in the toolbar.
- Type a Title, for example Tutorials. Leave the Alias empty and All Video Share will build one from the title.
- Upload a Thumbnail if you have one. This is the image shown for the category on the front end.
- Click Save & Close.
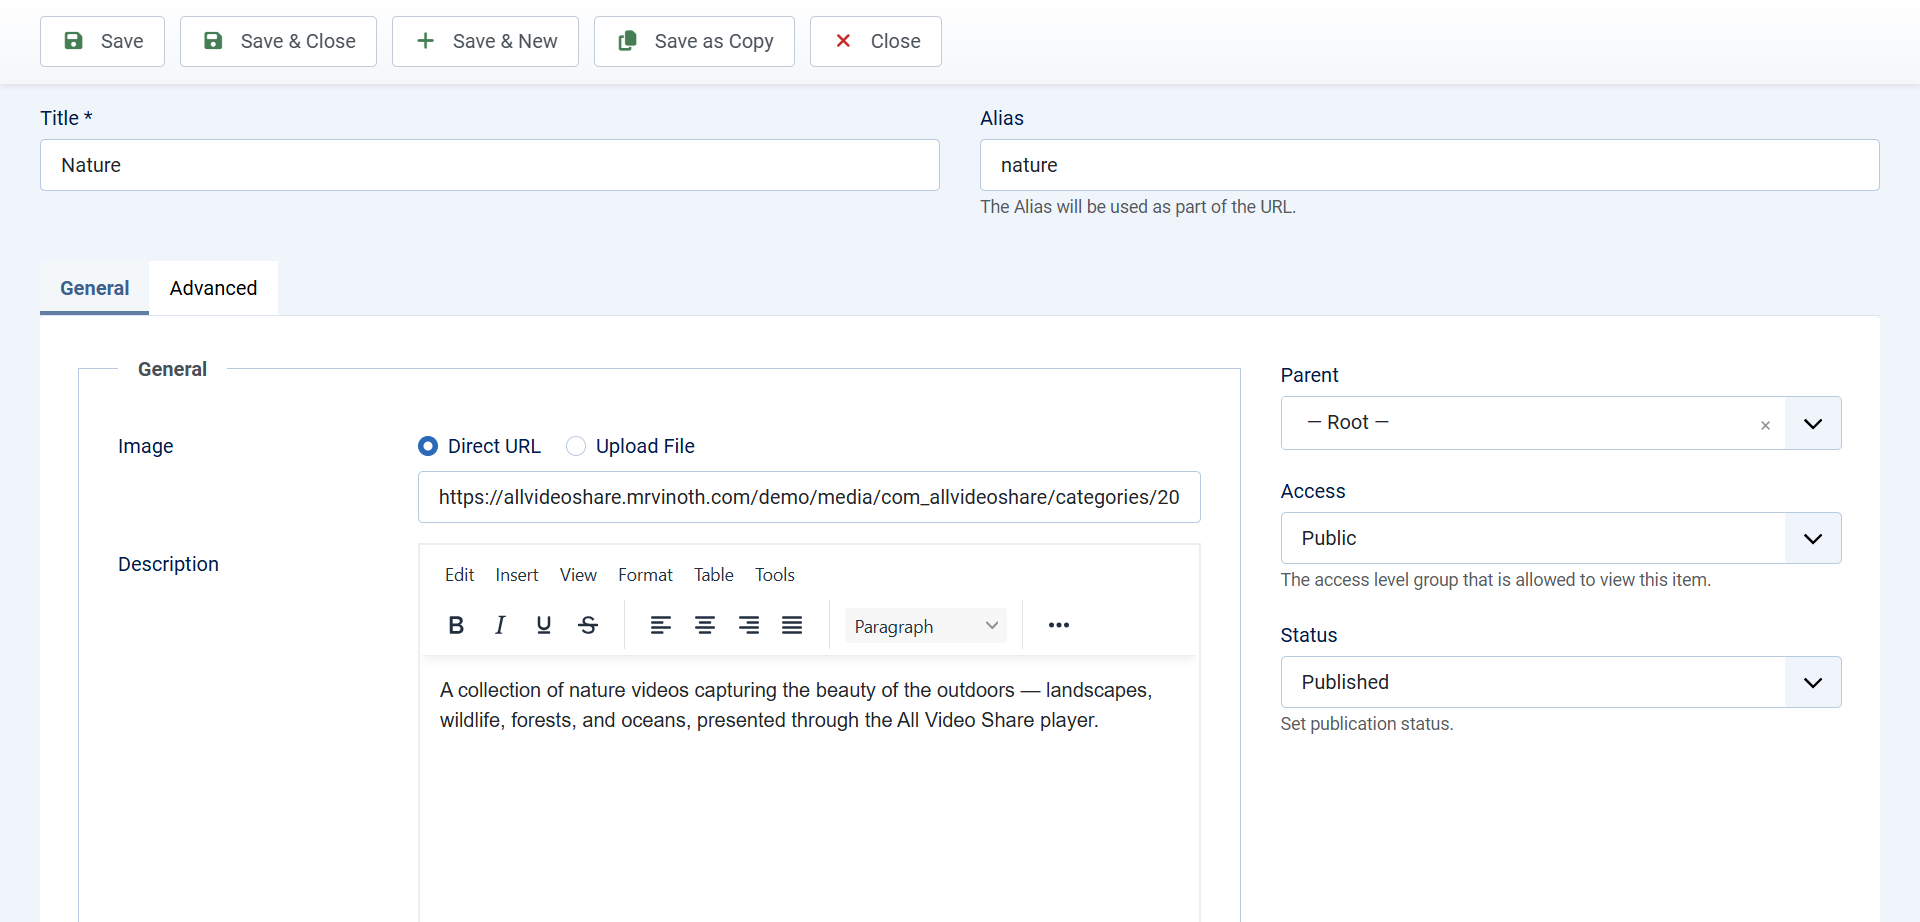
That is all you need for now. Categories can also be nested inside one another and restricted to certain user groups — see Managing Categories when you are ready for that.
Step 2: Add a Video
Now put something in that category. All Video Share can play videos from several different sources, but the quickest one to test with is YouTube, because you only need to paste a link.
- Go to Components → All Video Share → Videos and click New.
- Type a Title for the video.
- Choose the Category you created in Step 1.
- Set Video Type to YouTube. The form changes to show a YouTube URL field.
- Paste a normal YouTube link into it, for example
https://www.youtube.com/watch?v=twYp6W6vt2U. Use the page URL, not the embed code. - Click Save & Close.
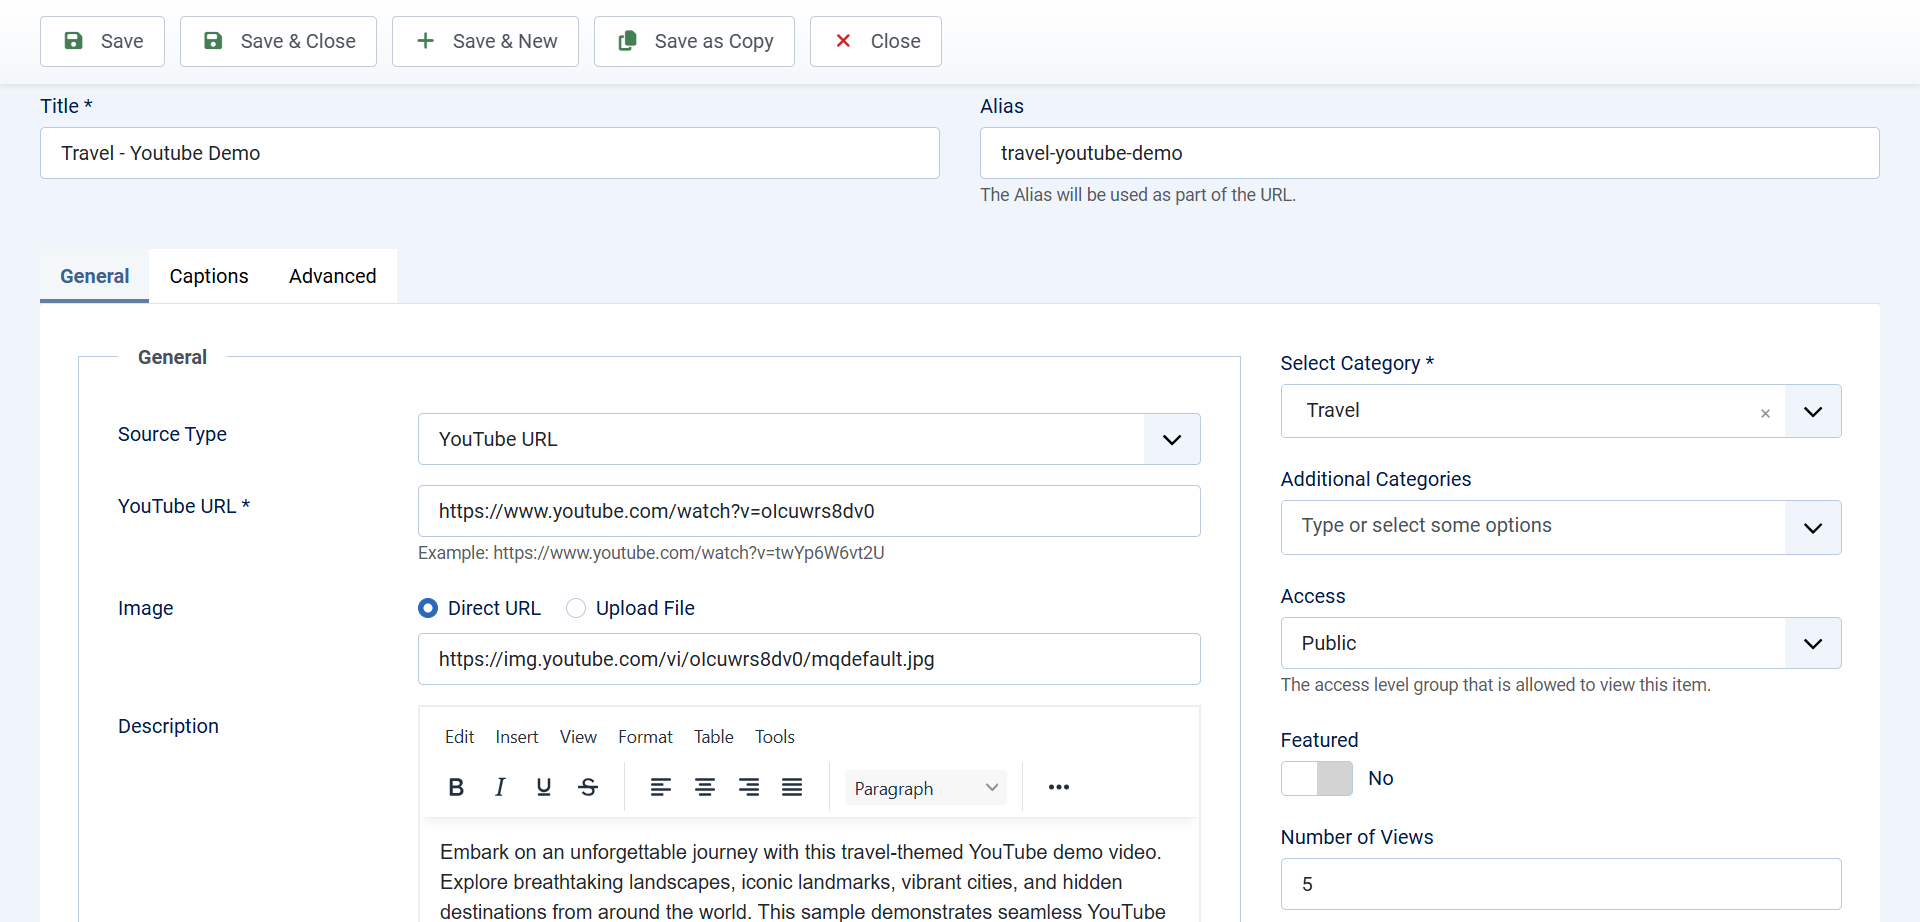
You do not need to supply a thumbnail for YouTube or Vimeo videos — All Video Share fetches one for you automatically.
Add two or three more videos the same way, so your gallery has something to show. When you are ready to upload your own video files, or to use Vimeo, live streams or embed code from another site, see Adding Videos & Video Sources.
Step 3: Add It to Your Menu
Your videos are saved, but nothing on your website links to them yet. A menu item creates the page that visitors will actually see.
- Go to Menus → Main Menu → Add New Menu Item.
- Type a Title, for example Videos. This is the wording that appears in your menu.
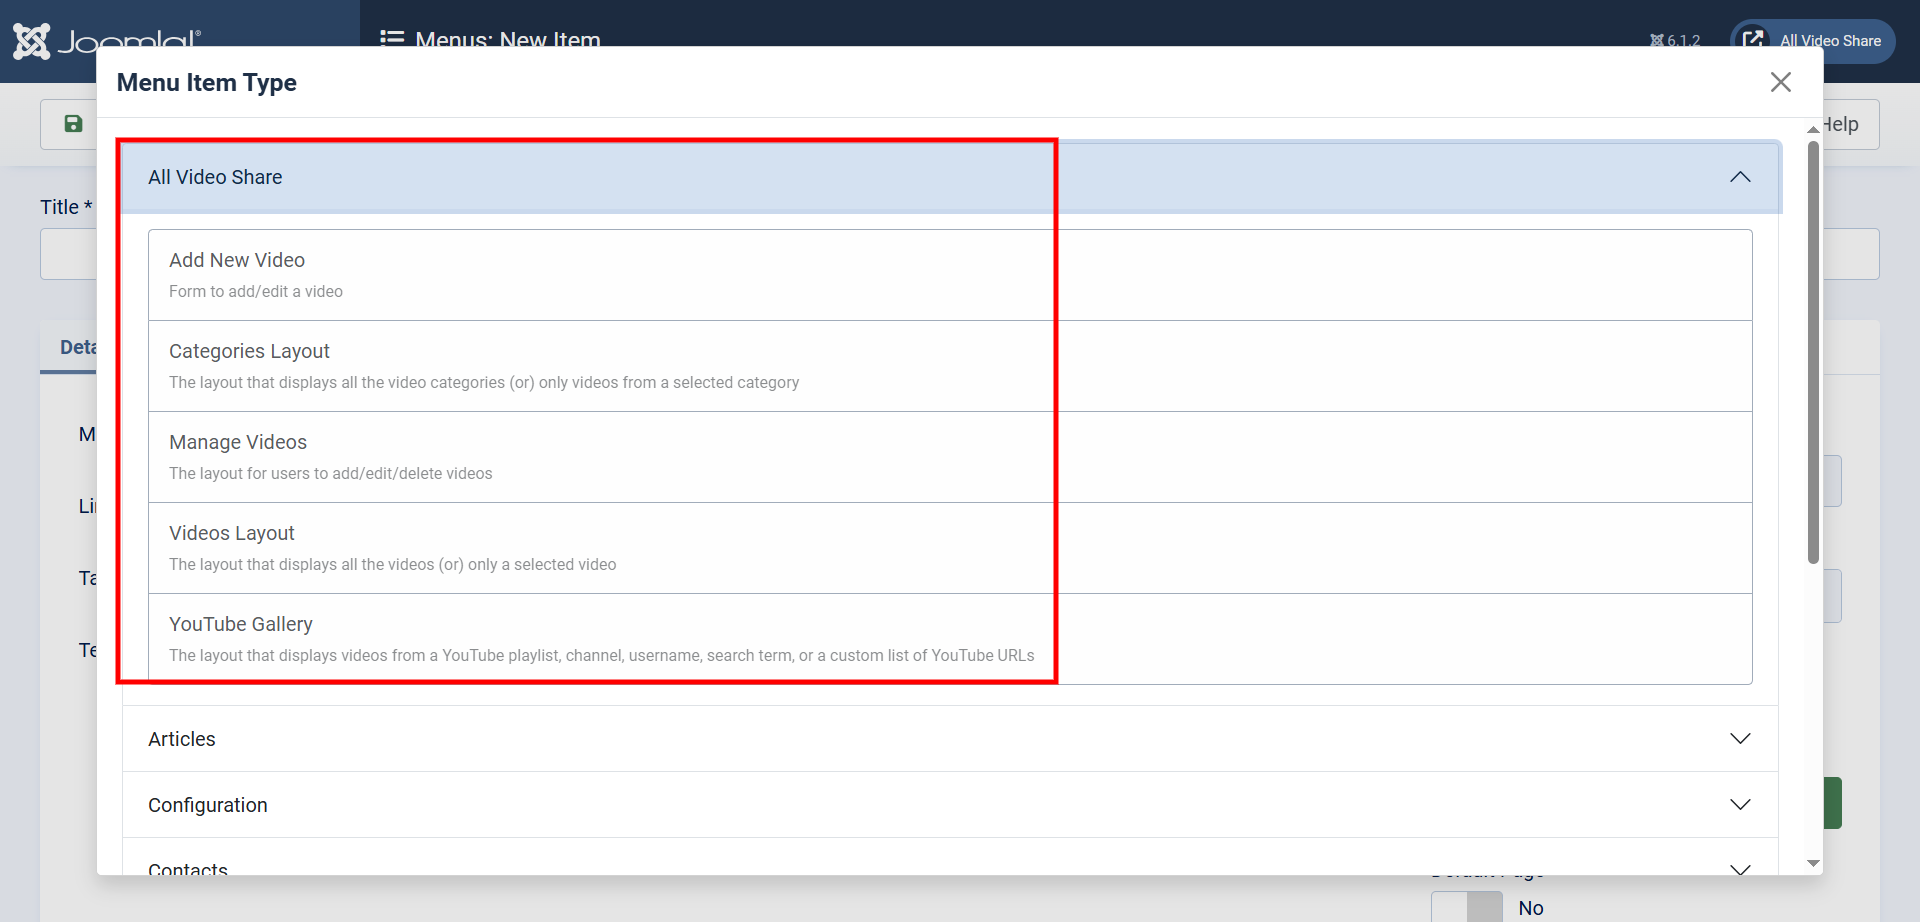
- Next to Menu Item Type, click Select.
- In the window that opens, click All Video Share to expand it, then choose Videos Layout.
- Leave the Video field empty. Leaving it empty means “show every video”; picking one video would turn this into a page for that single video instead.
- Click Save & Close.
Step 4: Look at Your Gallery
Open your website and click the new Videos menu item. You should see your videos laid out in a responsive grid of thumbnails.
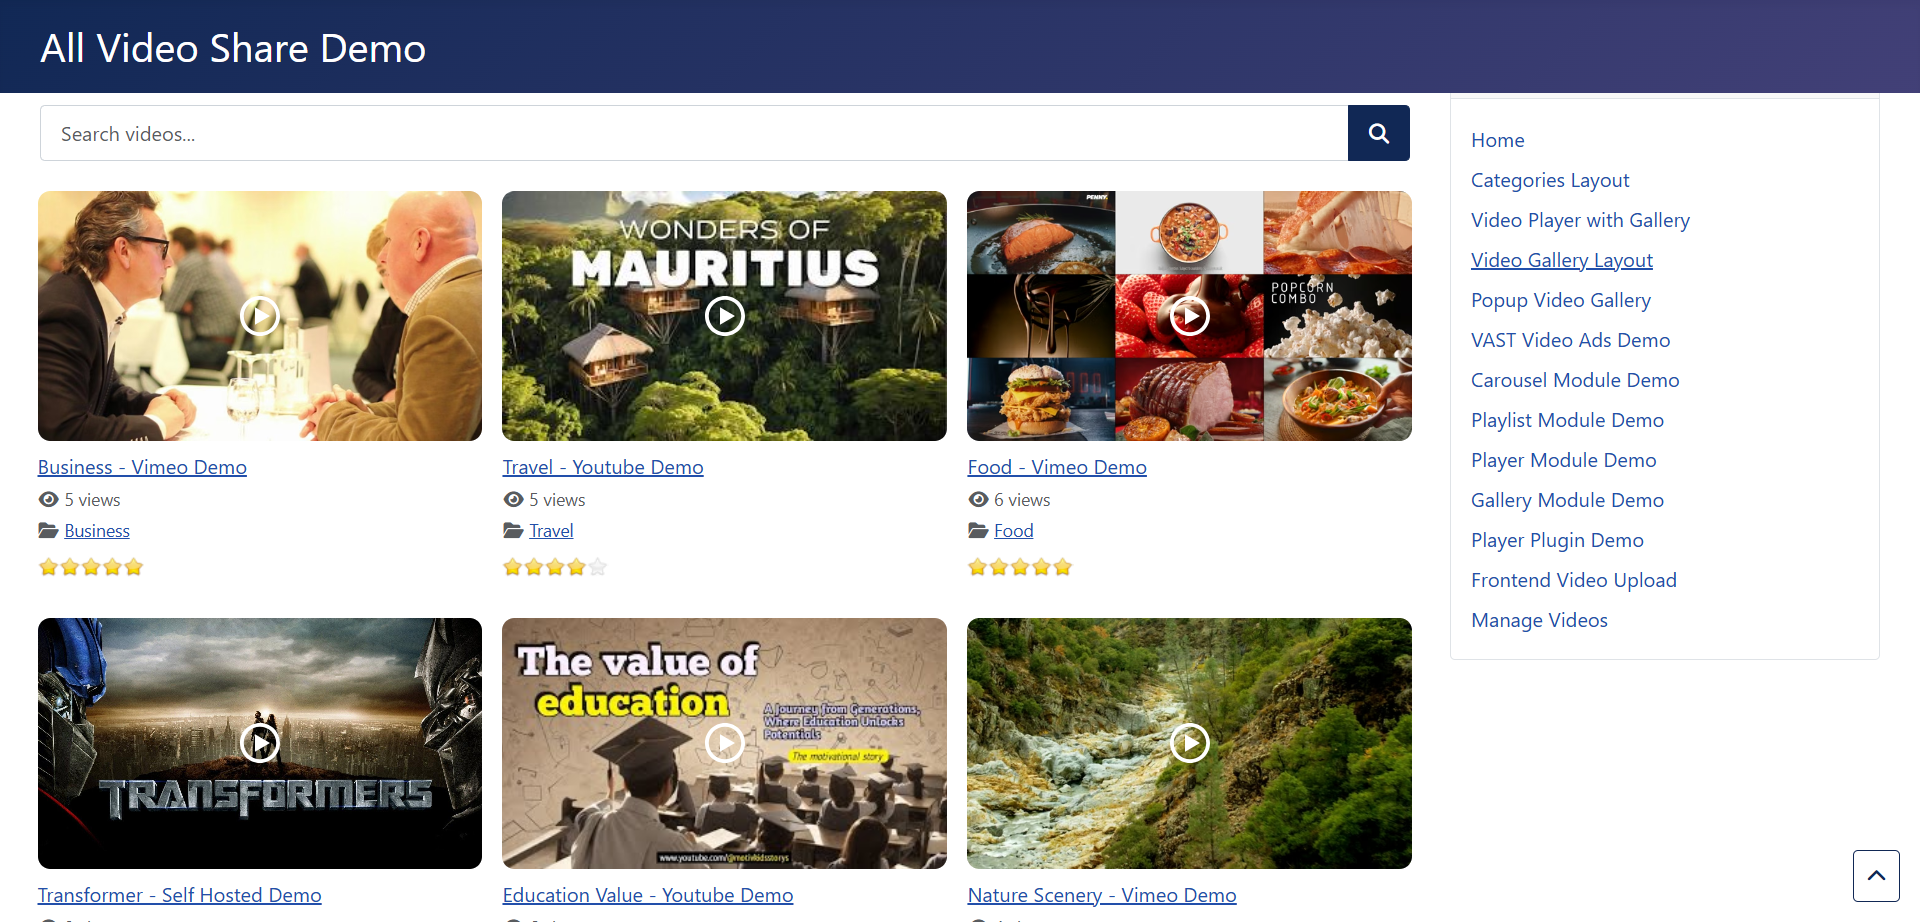
Click any thumbnail and the single video page opens, with the player, the video title and description, and a row of related videos underneath.
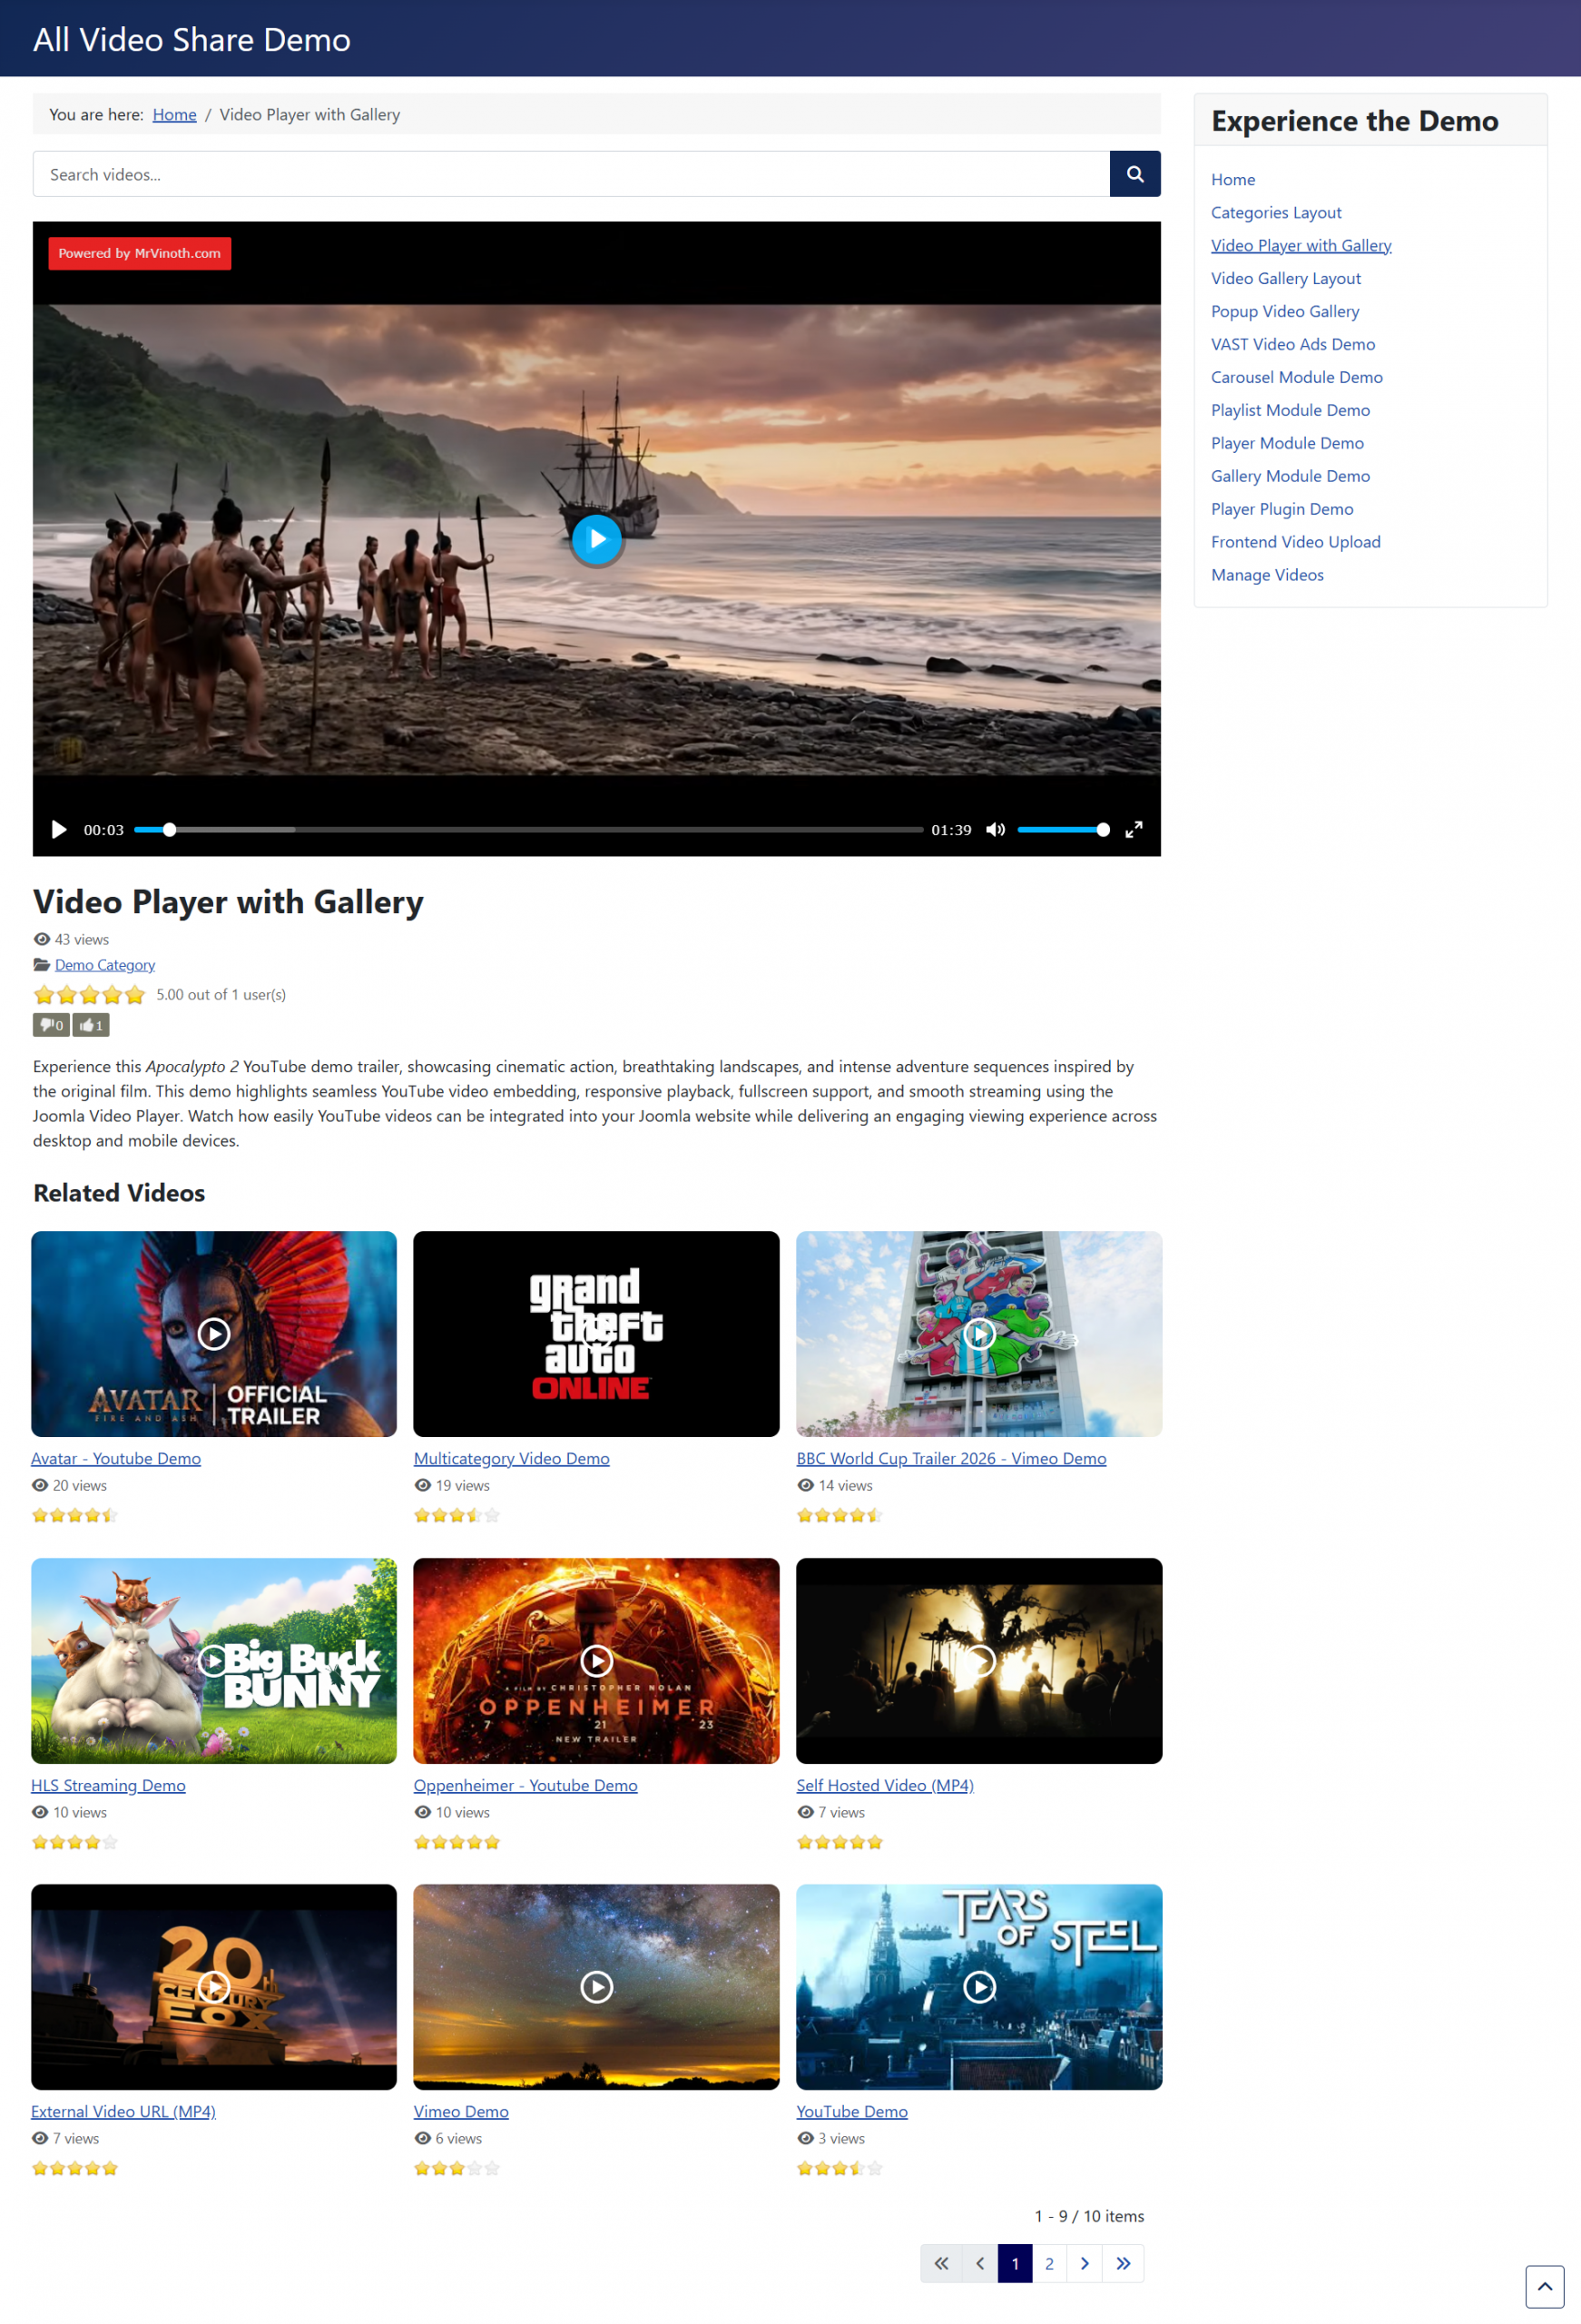
Thumbnails stacked in one column? Your Joomla template is not loading Bootstrap 5. Go to Components → All Video Share → Options → Custom CSS and set Load Bootstrap CSS to Yes.
Adjust How It Looks
Go to Components → All Video Share → Options. These settings change every gallery on your site, and they are the ones most people want to adjust first.
On the General tab, under Gallery:
- Number of Rows and Number of Columns — together these decide how many videos appear on each page. The default of three rows by three columns gives you nine videos per page.
- Image Height (Ratio) — controls the shape of the thumbnails. Use
56.25for widescreen 16:9 images, or75for the older 4:3 shape. - Short Description — show or hide the snippet of description text below each title.
On the Player tab:
- Player Width — leave this empty and the player fills whatever space it is given. Enter a number of pixels to cap its width.
- Player Height (Ratio) —
56.25for widescreen, which suits almost every modern video. - GDPR Privacy Consent — turn this on to ask visitors for permission before a YouTube or Vimeo video loads.
Every setting on this screen is explained in the Global Options Reference.
Where to Go From Here
A menu item is only one of the ways to put videos on your site. You can also:
- Place a gallery, carousel or player in a sidebar or footer using the modules.
- Drop a video into the middle of an article with a shortcode.
- Build a gallery that fills itself from a YouTube channel or playlist automatically.
- Let your registered users upload their own videos.
If you are not sure which approach fits your site, read Ways to Display Videos first.
Next: Managing Categories →