
Videos live under Components → All Video Share → Videos. All Video Share can play video from five different sources, and you are free to mix them however you like — a self-hosted file, a YouTube link and a live stream can all sit side by side in the same gallery.
On This Page
Adding a Video
- Click New on the Videos list.
- Give the video a Title.
- Choose a Category. Every video needs one, so create a category first if you have not already.
- Pick a Video Type. The form changes to show only the fields that type needs.
- Fill in that source field — upload a file, or paste a link, or paste embed code.
- Click Save & Close.
Title, category and a source are all that is really required. Everything else on the form is optional and can be added later.
The Five Video Sources
The Video Type dropdown decides where your video comes from and which player is used to show it.

General — Your Own Video Files
Choose General when the video file belongs to you. You can either upload it through the form or, if it is already on your server, paste its web address into the field.
Uploaded files are stored in /media/com_allvideoshare/videos/, inside a folder named after the date, so your library stays tidy as it grows.
Use MP4 files, encoded with H.264 video and AAC audio. That combination plays in every browser. Formats like MKV, AVI, WMV and FLV will upload happily but will not play, which is the single most common cause of a blank player.
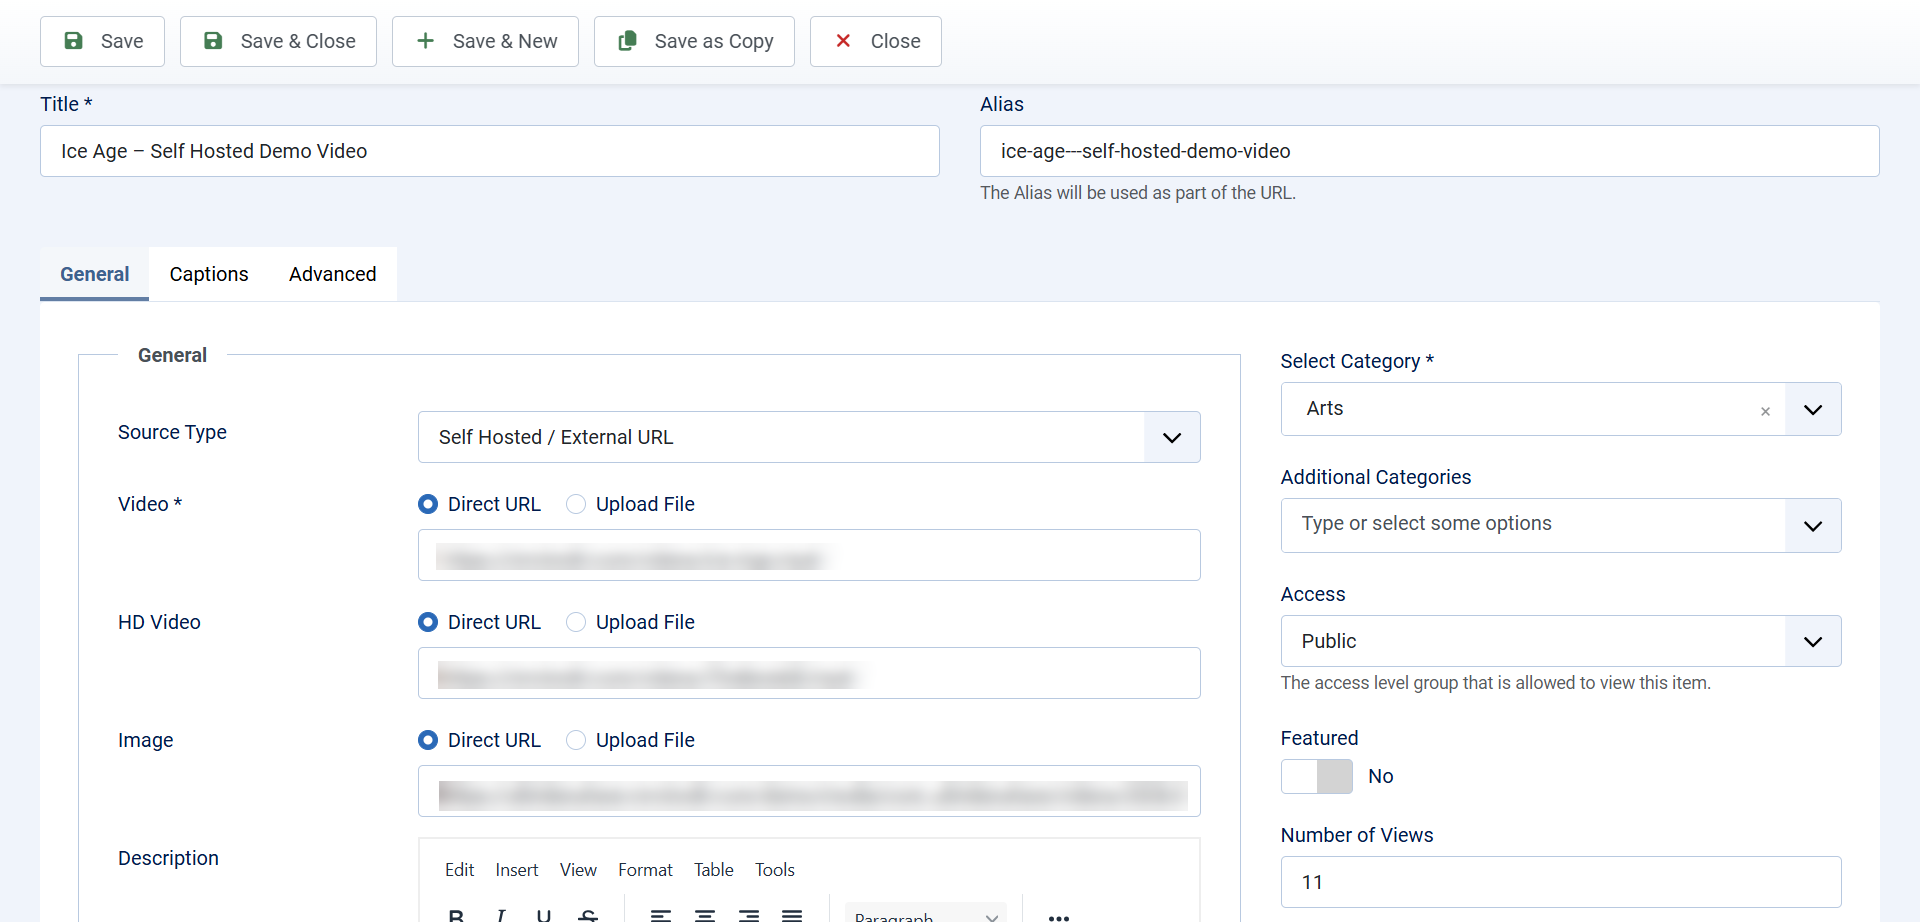
You will notice a second field called HD Video. Fill in both and your visitors get a quality switcher in the player: put the smaller, faster-loading file in Video and the high-definition version in HD Video. The switcher only appears when both files are present and the Quality control is turned on in your player settings.
Uploading a large file? Browser uploads are limited by your server’s PHP settings. If a big file fails or times out, upload it to your server by FTP instead and paste the resulting address into the field — the result is exactly the same.
YouTube
Choose YouTube and paste the ordinary link from your browser’s address bar, for example:
https://www.youtube.com/watch?v=twYp6W6vt2UPaste the page link, not the embed code. The thumbnail is fetched from YouTube automatically, so you can leave the Thumbnail field empty.
Vimeo
Choose Vimeo and paste the video’s page link:
https://vimeo.com/108018156As with YouTube, the thumbnail comes across automatically. Private and password-protected Vimeo videos are the exception — to pull thumbnails from those, you need to add a Vimeo access token under Options → API Keys.
YouTube and Vimeo videos play inside the provider’s own player, so the control settings in All Video Share do not apply to them. They are also the videos covered by the GDPR consent screen, if you have it switched on.
HLS and MPEG-DASH Streams
Choose HLS / MPEG-DASH for adaptive streams and live broadcasts. Paste the address of the stream’s manifest file:
https://www.mysite.com/stream.m3u8
https://www.mysite.com/stream.mpd
All Video Share handles the playback for you, adjusting quality automatically as your visitor’s connection changes.
Two things to watch for. A stream cannot supply a thumbnail, so set one yourself. And if the stream is hosted on a different domain from your website, that server has to allow cross-origin requests, otherwise browsers will refuse to load it.
Embed Code From Another Site
Choose Third Party for anything the other four types do not cover — Dailymotion, Wistia, Facebook video, Twitch and so on. Copy the embed code the provider gives you and paste it in exactly as it is:
<iframe src="https://www.dailymotion.com/embed/video/x8abcde"
        width="640" height="360" frameborder="0"
        allowfullscreen></iframe>
All Video Share wraps the code so it scales properly on phones and tablets. Set the thumbnail yourself, since there is no way to work one out from arbitrary embed code.
Thumbnails
The thumbnail is the still image that represents your video in the gallery, and it does more work than anything else to make a gallery look good.
YouTube and Vimeo videos take care of themselves. For your own files, streams and embedded videos, upload an image in the Thumbnail field or paste the address of one already on your site.
Use images that are all the same shape, since the gallery crops them to a single ratio. Widescreen 16:9 is the usual choice, at around 1280 by 720 pixels. If you leave a thumbnail empty, All Video Share falls back to the default image set in your Options.
Subtitles and Captions
The Captions tab on the video form lets you attach subtitles, in as many languages as you like. Files must be in the WebVTT format, which uses the .vtt extension.
Captions apply to your own video files and to streams. YouTube and Vimeo serve their own subtitles, so the tab has no effect on those.
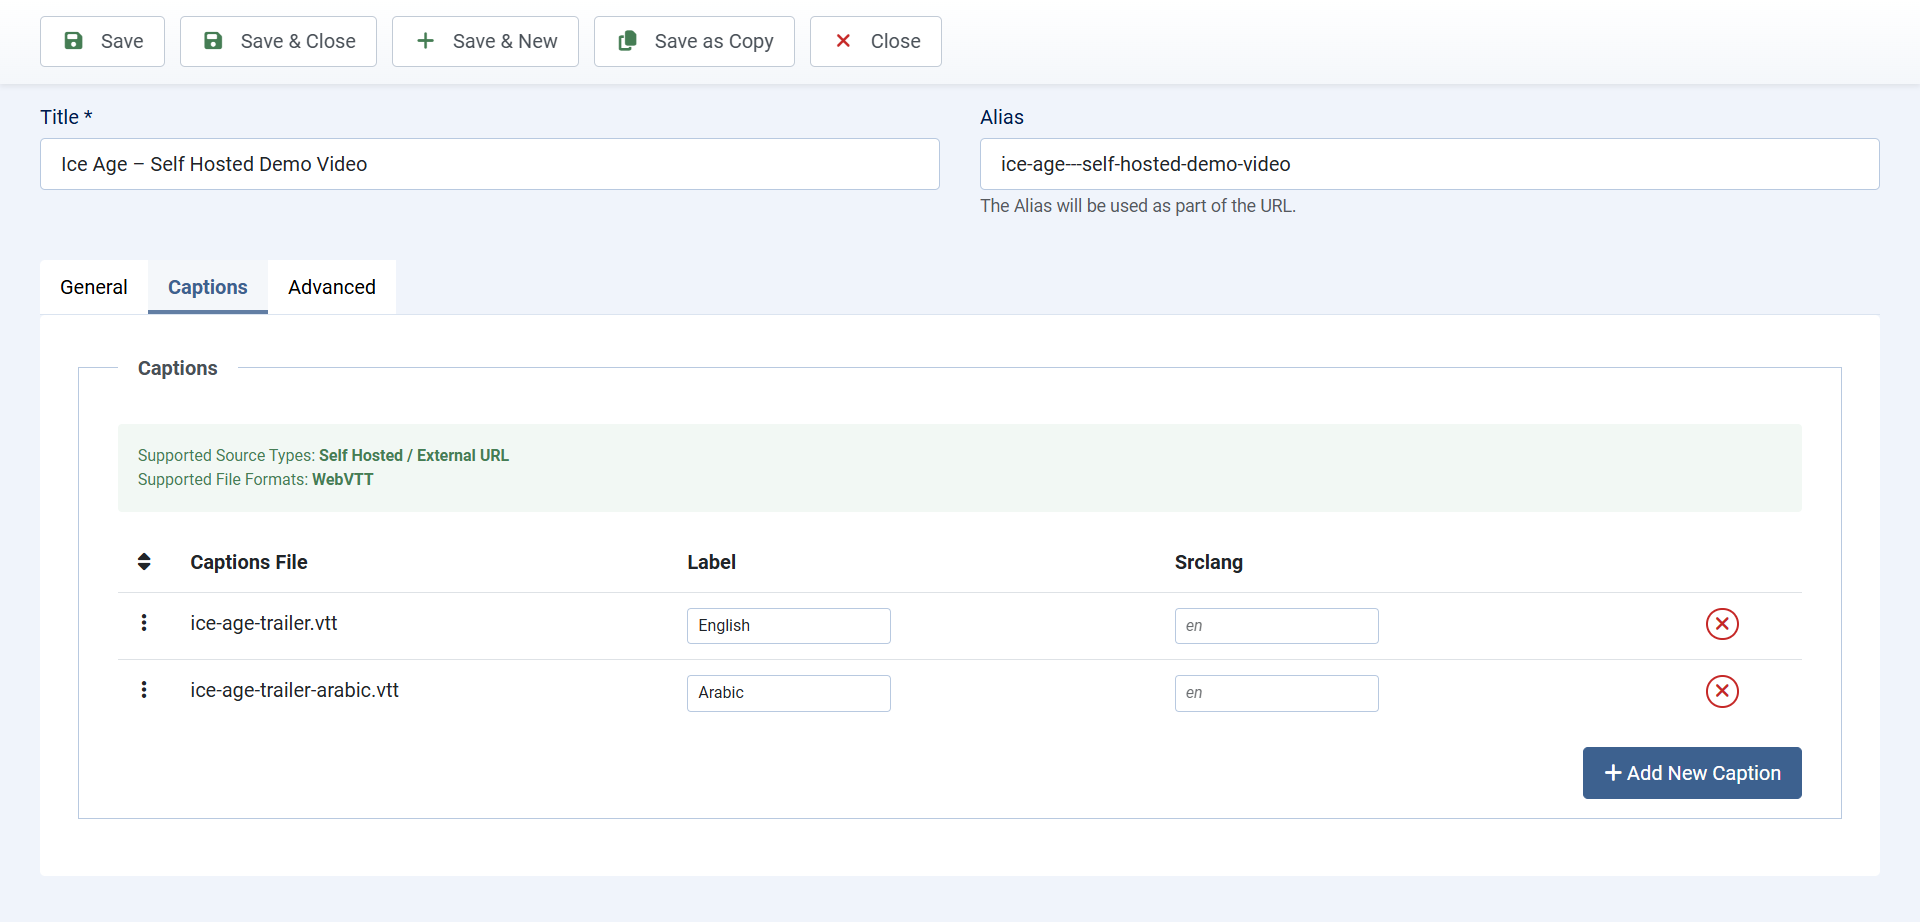
- Open the video and switch to the Captions tab.
- Click Add New Caption.
- Click Upload File to send your
.vttfile, or paste the address of one hosted elsewhere. - Type a Label — this is the wording your visitors see in the subtitles menu, such as English.
- Type a Srclang — the two-letter language code, such as
en,deorfr. - Repeat for each language, then save. Drag the rows to reorder them; the first one is the default.
A WebVTT file is plain text and always begins with the word WEBVTT:
WEBVTT

00:00:01.000 --> 00:00:04.000
Welcome to All Video Share.

00:00:04.500 --> 00:00:08.000
Let's create your first gallery.
Your visitors then get a subtitles button in the player and can switch between the languages you supplied.
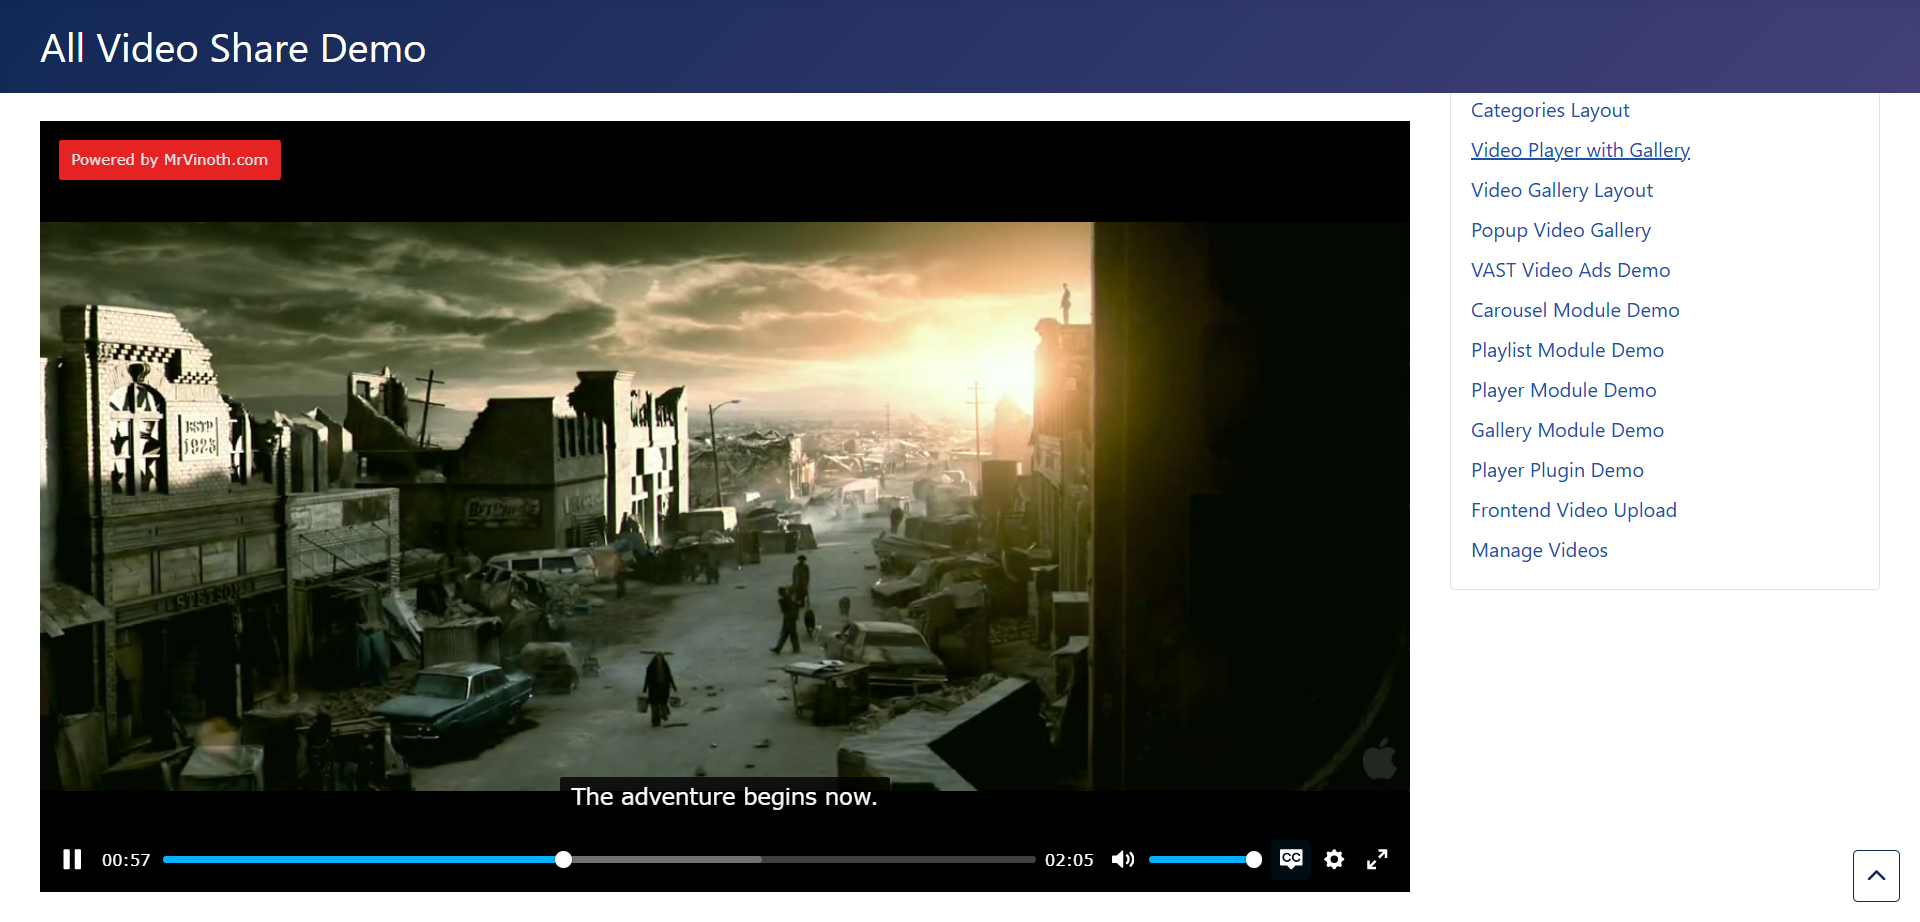
Subtitles only appear if the Captions control is switched on under Options → Player → Controls.
The Rest of the Fields
Once the source is sorted, these are the other settings on the video form:
- Alias — the URL-friendly version of the title, used in the video’s web address. Leave it empty and one is made for you. Changing it later breaks existing links.
- Description — shown on the video’s own page, with a shortened version under the thumbnail in the gallery.
- Access — which visitors may watch this video, using Joomla’s view access levels.
- Views Count — how many times the video has been watched. You can edit this freely, so a video imported from elsewhere can start with a realistic number.
- Author — a Joomla user to credit. Their name appears in the gallery if you have author names switched on.
- Meta Keywords — comma-separated words used in the page’s meta tags and by the site search.
- Meta Description — the summary search engines show for this video’s page.
- Status — only Published videos appear on your site.
- Created Date — set this by hand to control where the video lands when a gallery is sorted by date.
Putting a Video in More Than One Category
Premium feature. Multi-categories is part of the premium version. See Premium Features.
Normally a video sits in exactly one category. If you need one to appear in several, turn on Enable Multi-Categories under Options → General → Misc, then use the Additional Categories field on the video.
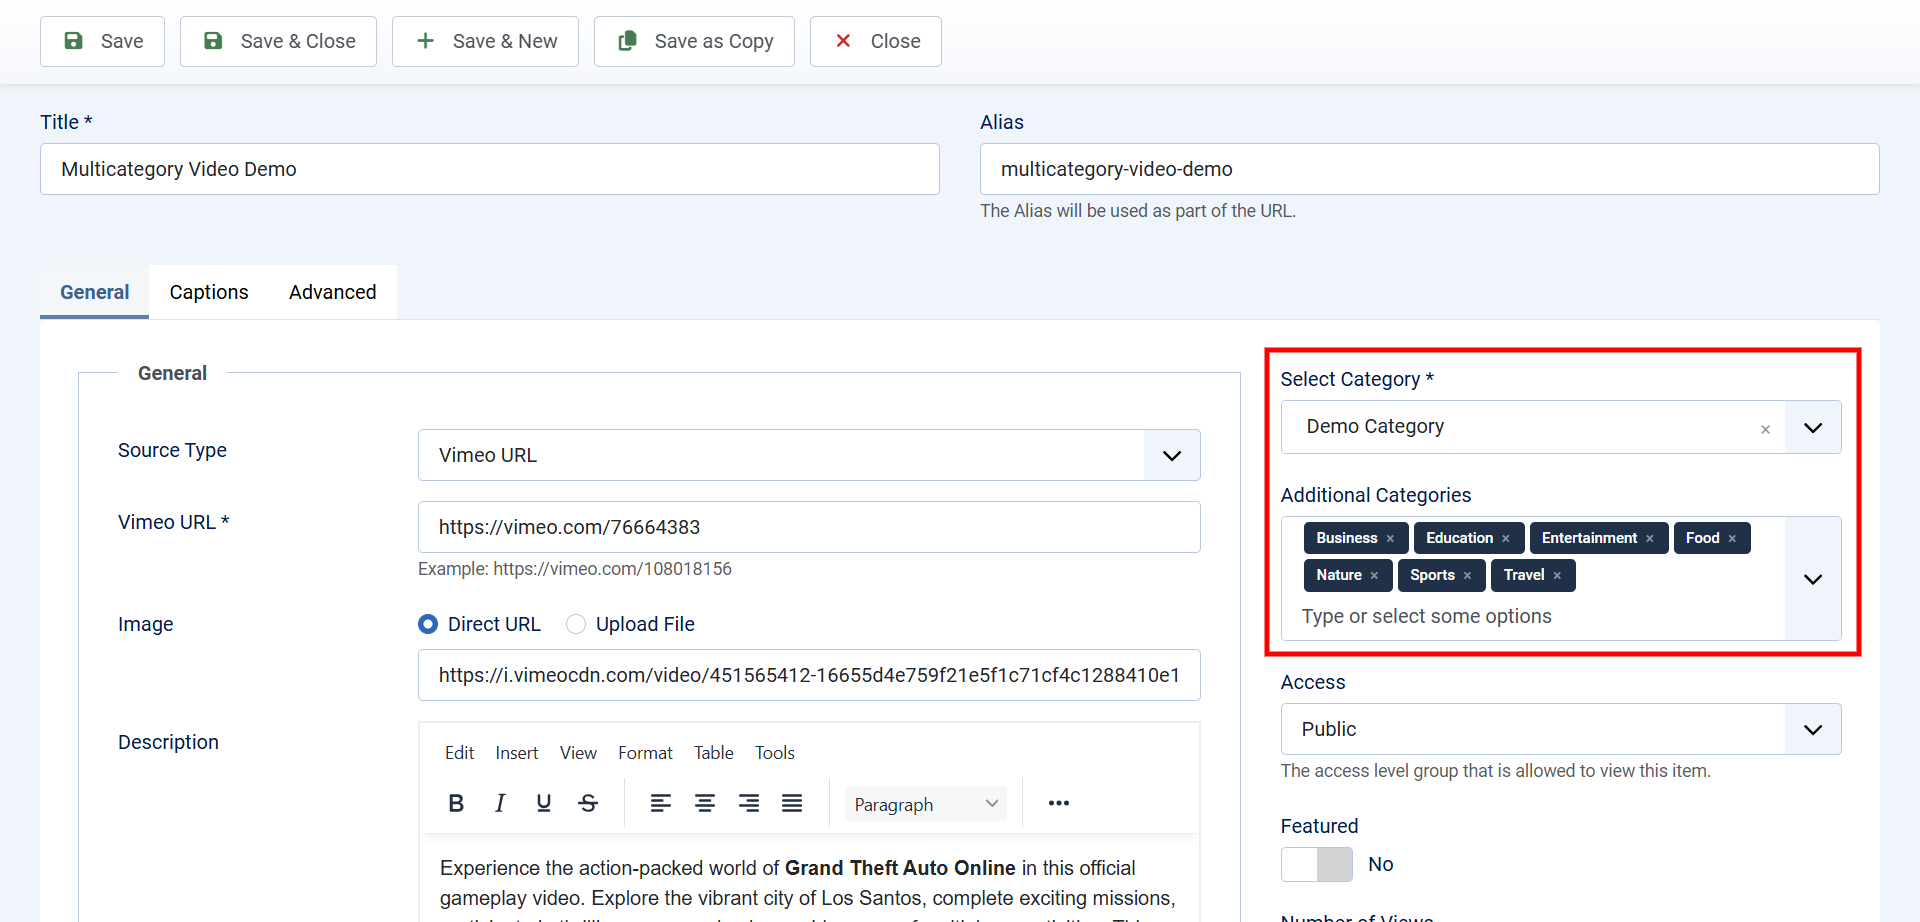
The main Category field still controls the breadcrumb trail, the video’s web address, and which other videos count as related. Additional categories only change which listings the video turns up in.
Featured Videos
Setting Featured to Yes flags a video as one of your best. On its own that does nothing visible — the flag becomes useful when you build a page or module and switch its own Featured setting on, which limits that listing to featured videos only.
This is the usual way to build a highlights carousel for a home page, or a “staff picks” strip in a sidebar, without having to maintain a separate category for it.
Ordering Your Videos
Every gallery, module and menu item has an Order By setting that decides the sequence videos appear in. Your choices are:
- Latest — the most recently added video first.
- Latest (by date) — newest first, based on the Created Date field. Use this one if you backdate videos.
- Title A–Z and Title Z–A — alphabetical.
- Most Popular — the most watched videos first.
- Most Popular (by ratings) — highest star rating first.
- Most Popular (by likes) — most liked first.
- Random — a fresh order every time the page loads.
- Ordering — the exact order you set by hand.
To use that last option, go to the Videos list, change the sort dropdown to Ordering, drag the rows into the order you want, and then set Order By to Ordering on the page or module where you want it applied.
Working With the Videos List
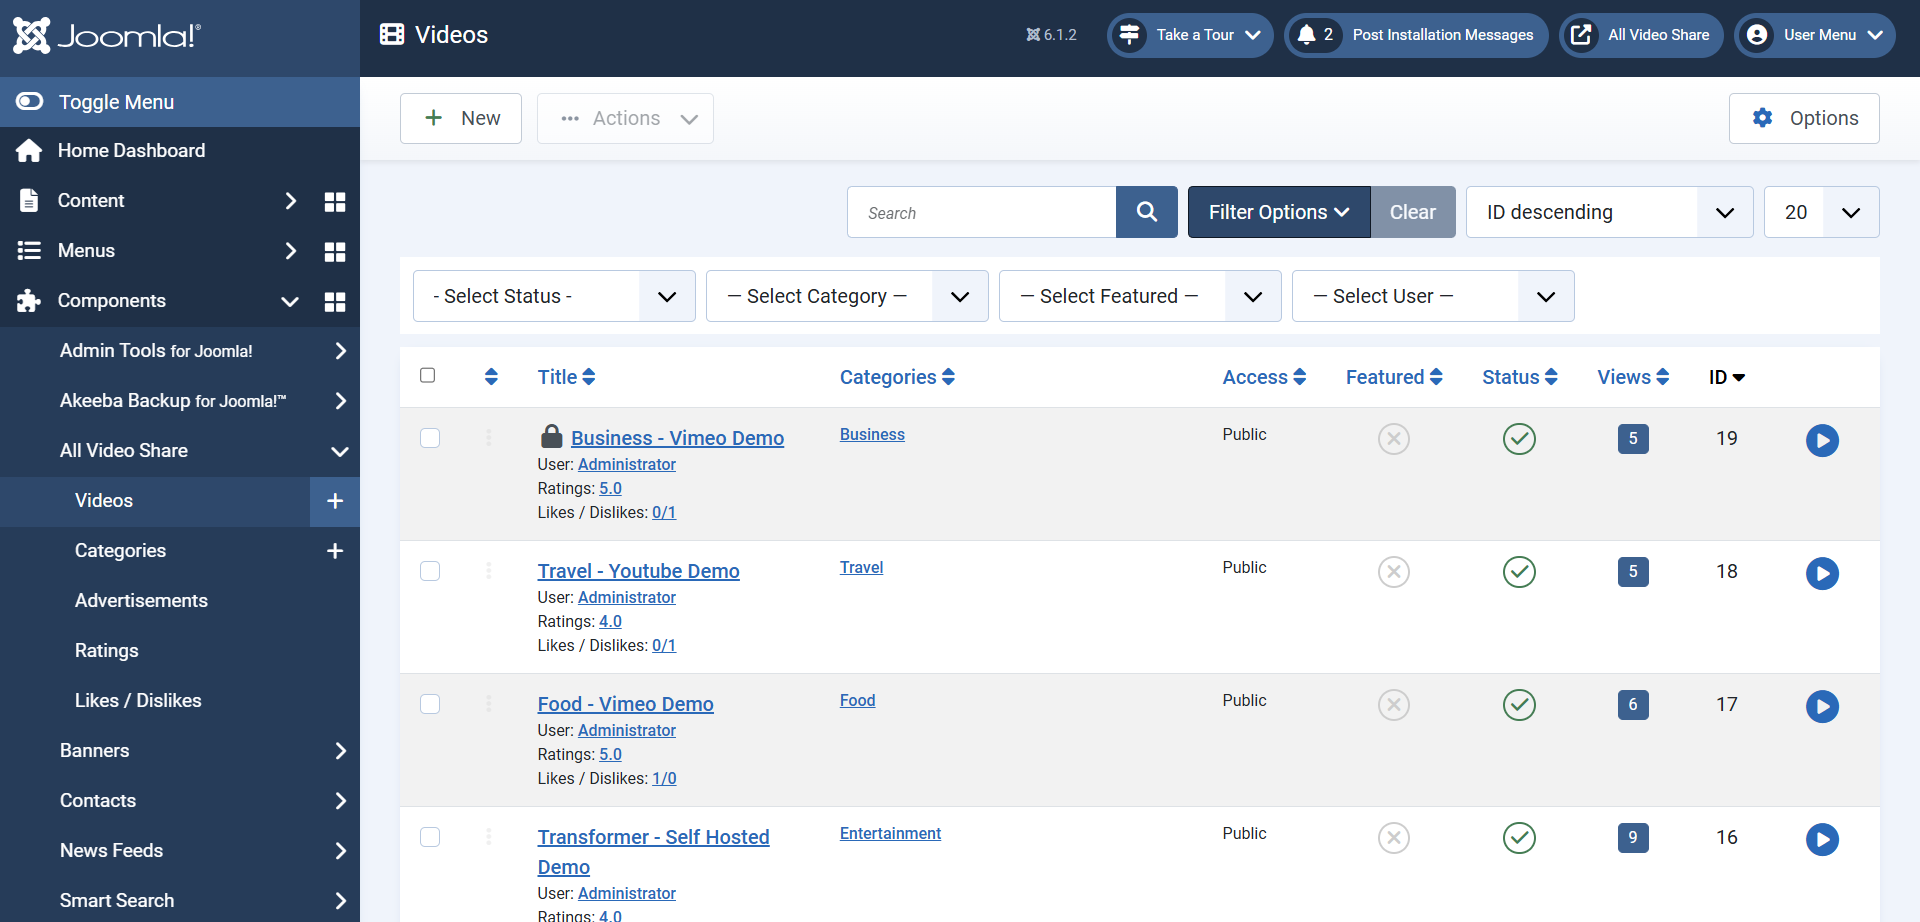
As your library grows, the tools above the list save a lot of time. Search by title, and use Filter Options to narrow things down by category, status, access level or author.
Tick several videos and use the Actions button to publish, unpublish, archive or trash them all at once. Trashed videos are hidden from your site but not gone — to delete them permanently, filter the status to Trashed and click Empty Trash.
Deleting a video removes its record, but any file you uploaded for it stays on your server. Clear out
/media/com_allvideoshare/videos/occasionally if disk space matters to you.
Next: Ways to Display Videos →